
A Cozy Ikea DIY Play Corner
- Apr 26
- 4 min read

IKEA gets called basic a lot - but I’ve never really seen it that way.
For me, Ikea pieces are a starting point. They’re flexible, accessible, and when you choose the right ones, they can become something really intentional with just a bit of time, paint, and care.
For our whimsical shared kids + guest room project, I wanted to create a small play corner that felt calm, functional, and still visually aligned with the rest of our home. Nothing overly “plastic kids room,” but also nothing too precious. Just something soft, practical, and layered.
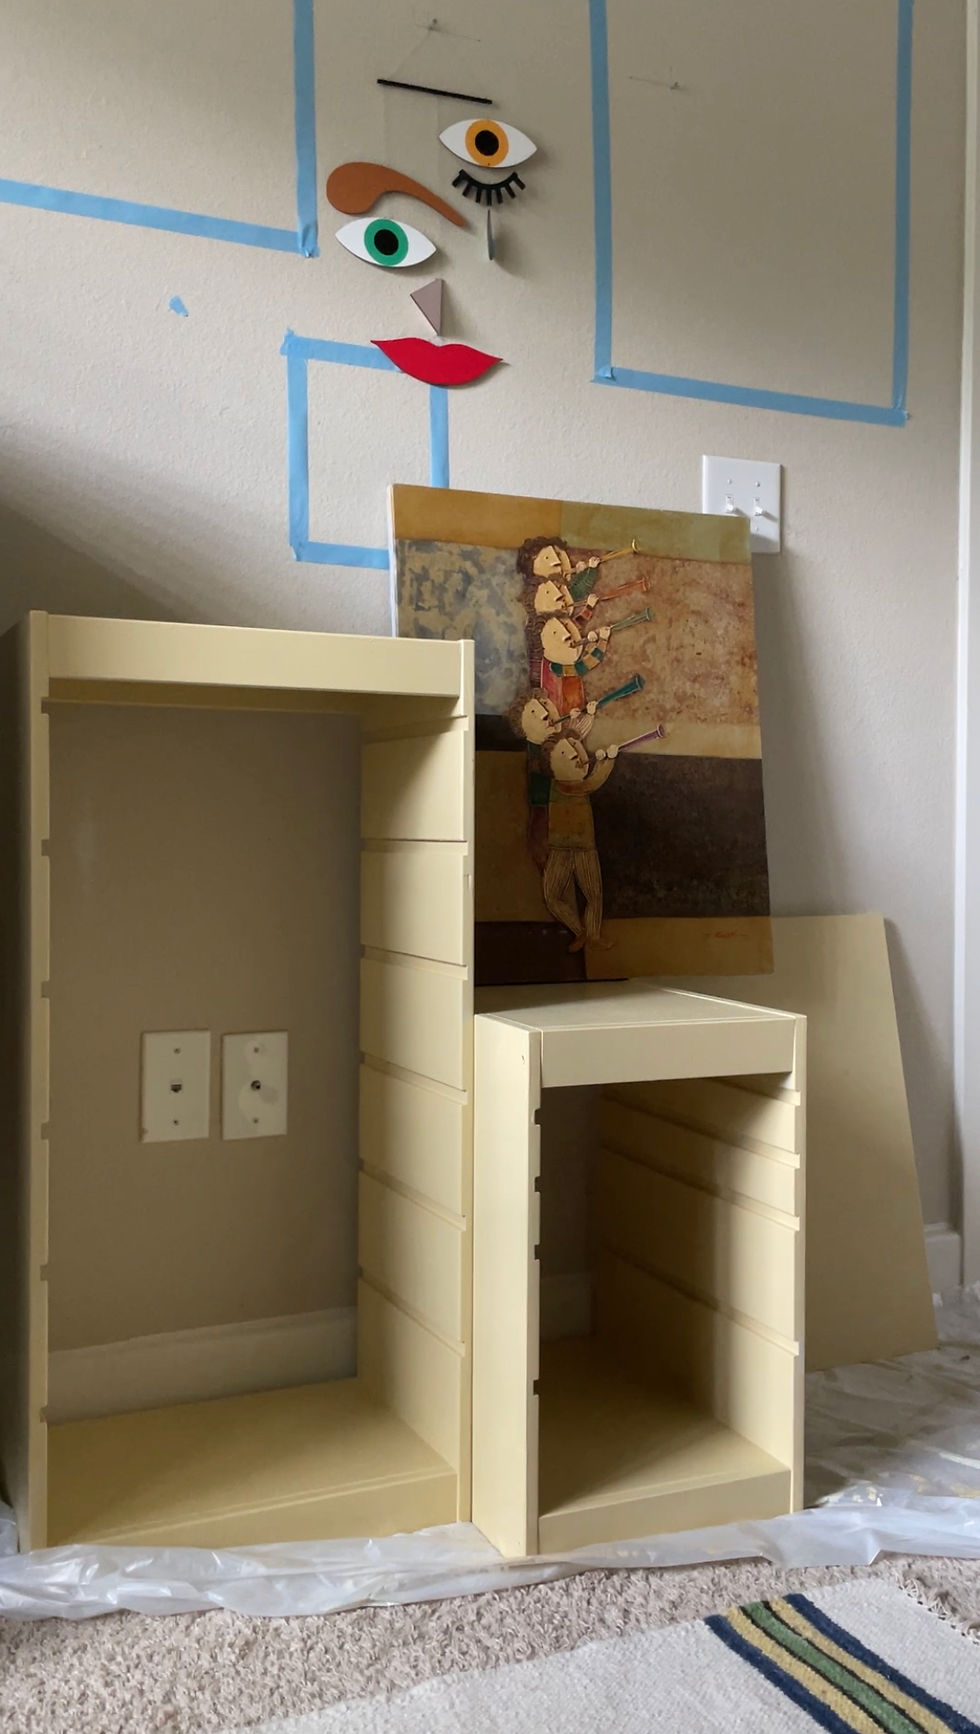
choosing the right Ikea base
I went with the Trofast system in solid pine. One thing I really love about Ikea is that many of their storage systems come in different sizes and configurations, which makes it easier to adapt them to your actual space instead of forcing your space around furniture.
For this corner, the scale mattered. I didn’t want anything bulky or visually heavy, so being able to choose a smaller, more proportioned version made a big difference.
I also specifically chose solid pine over laminated pieces. There’s a noticeable difference in how it feels to work with and finish. Solid wood takes paint more beautifully, ages better over time, and allows for refinishing later if needed. It just feels more grounded and long-lasting - especially important for something in a kids’ space. So here's a simple Ikea DIY for a play corner that can adapt and grow with your kids.
prepping the wood properly
This is the part that makes the biggest difference in how your final piece turns out. I started by sanding everything down using a 180 grit sanding block. This helps smooth out the surface and gives the primer something to grip onto.
Because pine is a softwood, it has natural knots that can bleed through paint over time. To prevent that, I used a shellac-based primer (Zinsser BIN) specifically on the knot areas first. This step is really important - it seals the knots so they don’t stain or discolor the paint later.
After that first coat on the knots, I lightly sanded those areas again. If there are few spots where the knots were still visible, you could add a second coat of primer just to fully seal them. Once everything was sanded and primed, I wiped the entire surface down with a tack cloth to remove any dust. This step is small but essential if you want a smooth, clean finish.
Because I was working in a small apartment, I also let everything air out for a couple of hours before moving on. Good ventilation really matters when you’re working indoors with primers and paints.
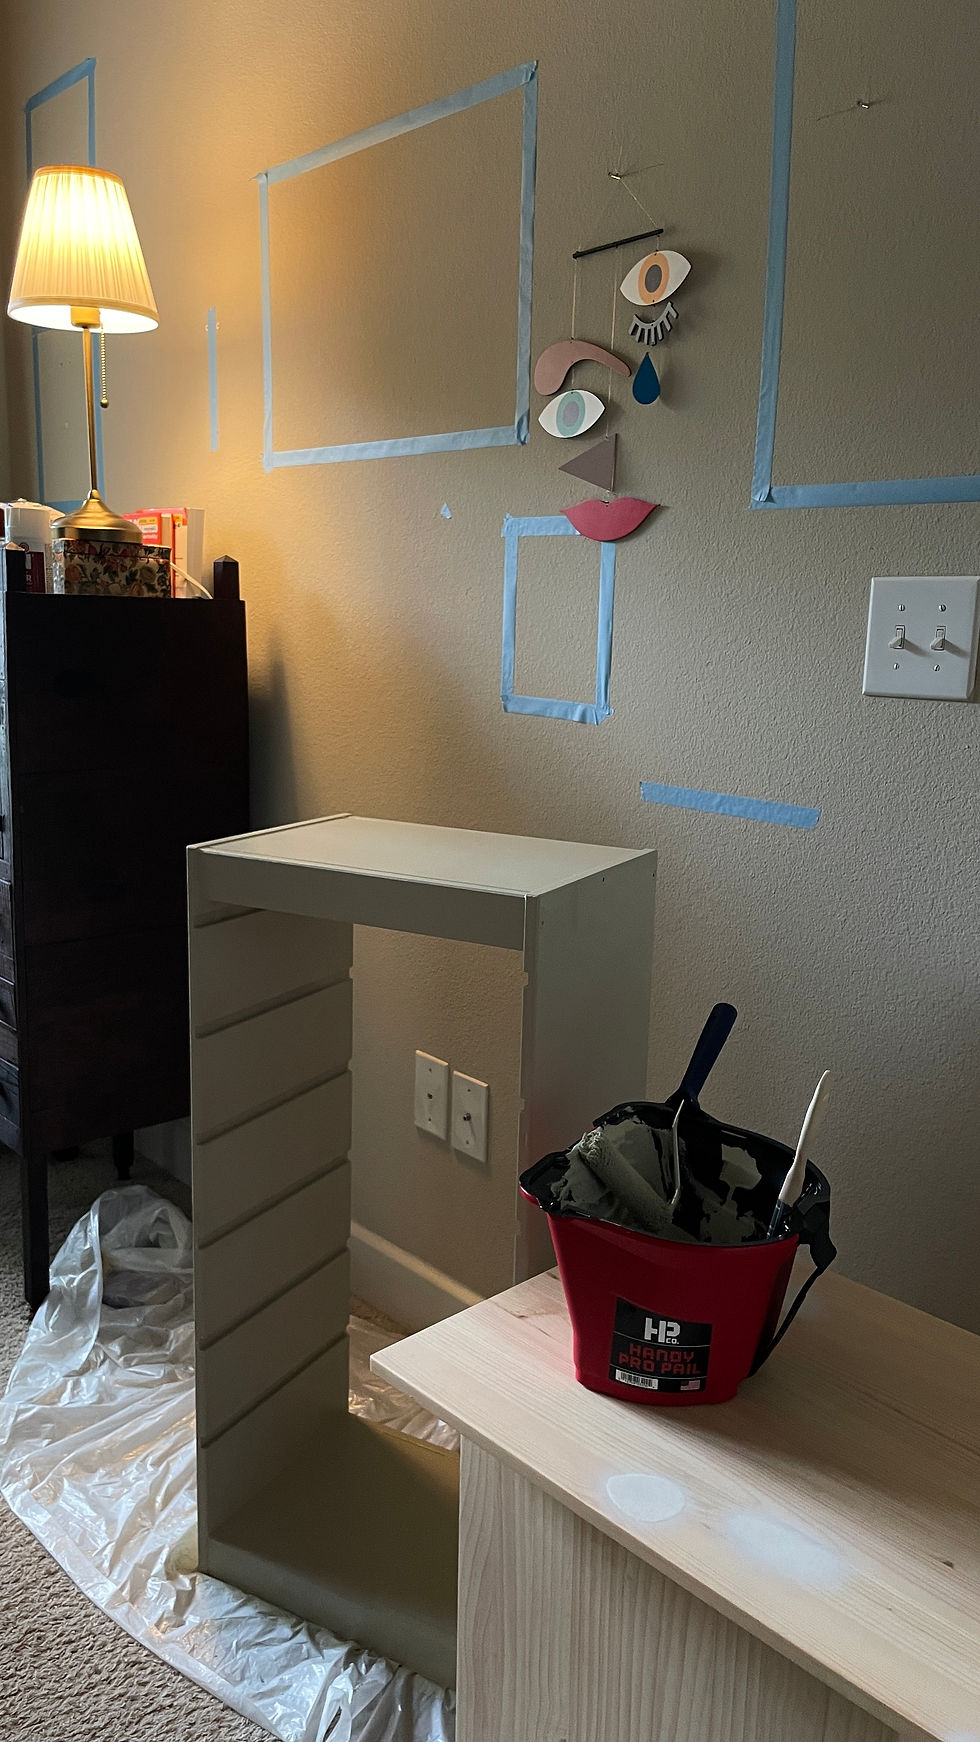
priming and painting
For the main base coat, I used Farrow & Ball’s water-based primer. I let that dry for about 4 hours before moving on to paint. Then came the color layer.
The color I finally decided on is Farrow & Ball Hay in Modern Eggshell finish. I really love this finish for furniture pieces like this because it’s durable, wipeable, and holds up well in spaces that get daily use - especially important for anything in a child’s room.
One of the reasons I tend to gravitate toward Farrow & Ball is because of their formulation. Their paints are known for being low VOC, water-based, and made with natural pigments, which makes them a safer option for interior spaces, especially homes with kids.

After the first coat of paint, I let it dry for around 4–6 hours. Once it had fully set, I lightly sanded it using a 320 grit sandpaper. This helps smooth out any brush marks and creates a more even surface for the final coat. Then I applied the second coat and let it cure properly. To make the whole priming and painting process easier - especially as a mama working in a tight space with a toddler around - I used the Handy Pro Pail with liners. It’s a good-sized container that holds your paint while you work, with adjustable hand straps so you can carry it around easily. It also has a magnetic spot for your brush, a section for a small roller, and a notch to rest your tools.
Honestly, this made the process so much more manageable and contained in our small home.
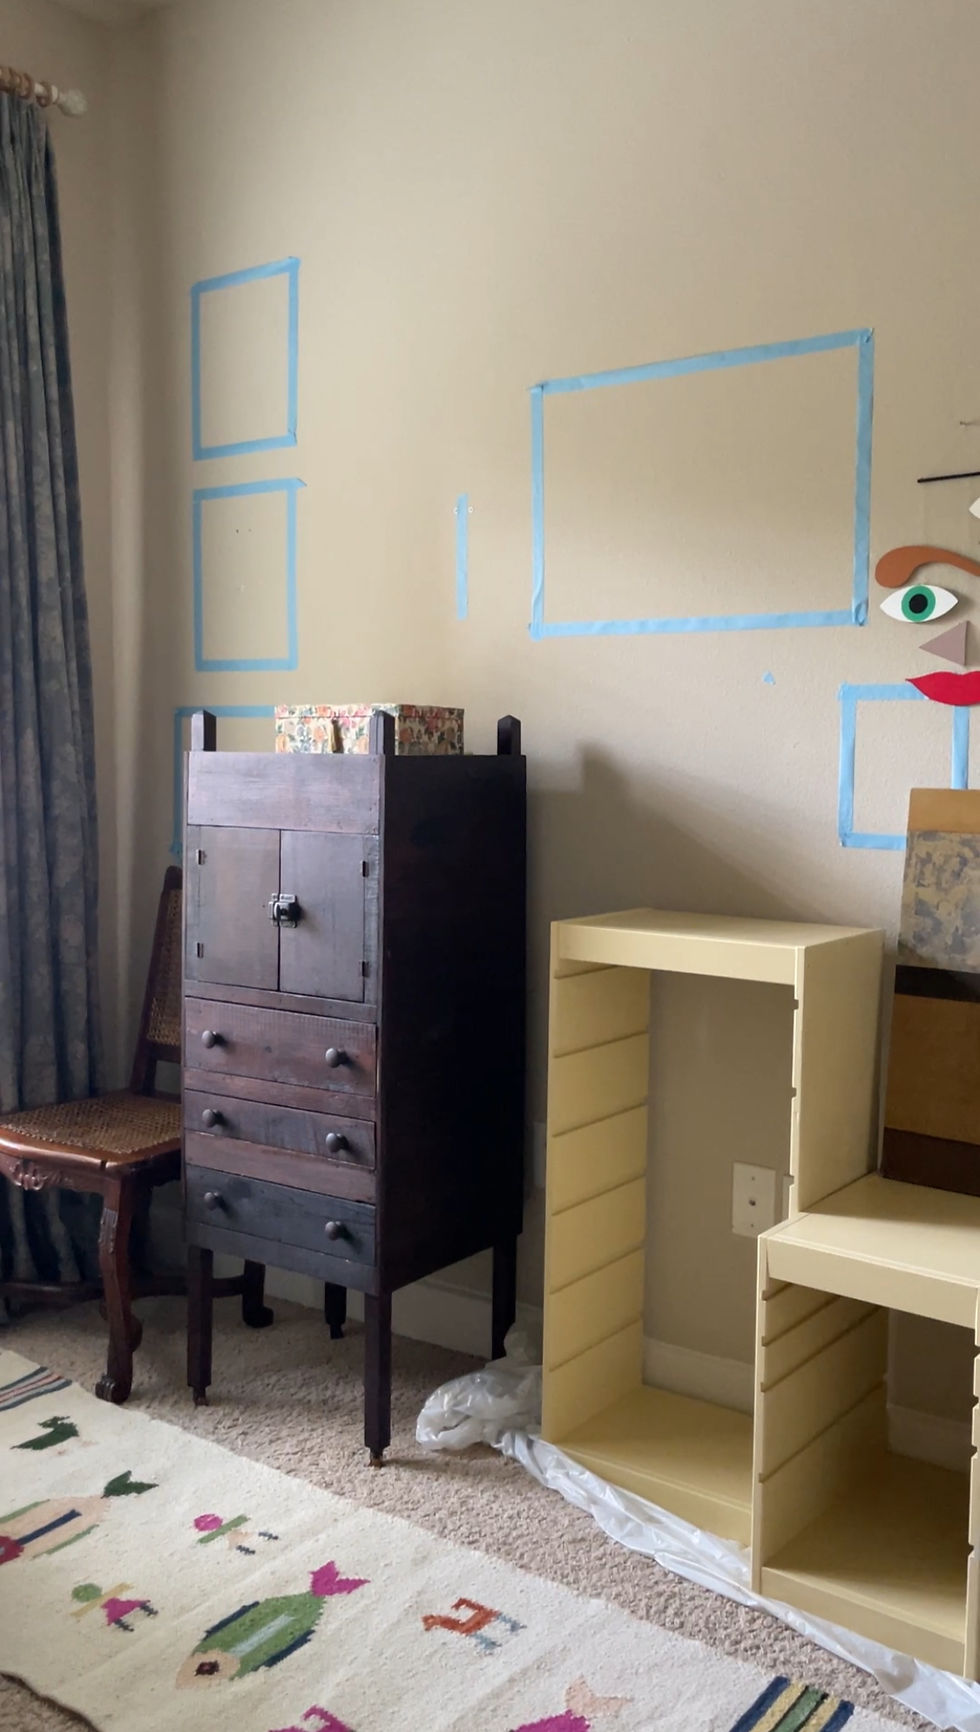
mixing old and new in the same space
One of my favorite parts of this project wasn’t just the Ikea piece itself - but how it sits within the room. On one side, there’s this simple, modern, painted storage system. On the other, I have an antique storage cabinet and a vintage cane chair.
I love mixing styles like this. When everything in a room matches too perfectly, it can start to feel flat or overly styled. But when you bring in contrast - modern next to vintage, smooth next to textured - it creates depth. It makes the space feel collected rather than curated all at once.
That tension between pieces is what makes a room feel lived-in and layered. It doesn’t need to be perfect or overly designed. It just needs to feel like it has evolved over time.
list of materials used
You can catch a quick glimpse of the whole process here.

a note on the process
This exploration is currently unfolding as part of the One Room Challenge, a biannual design event where participants transform a space over several weeks and share the process along the way.
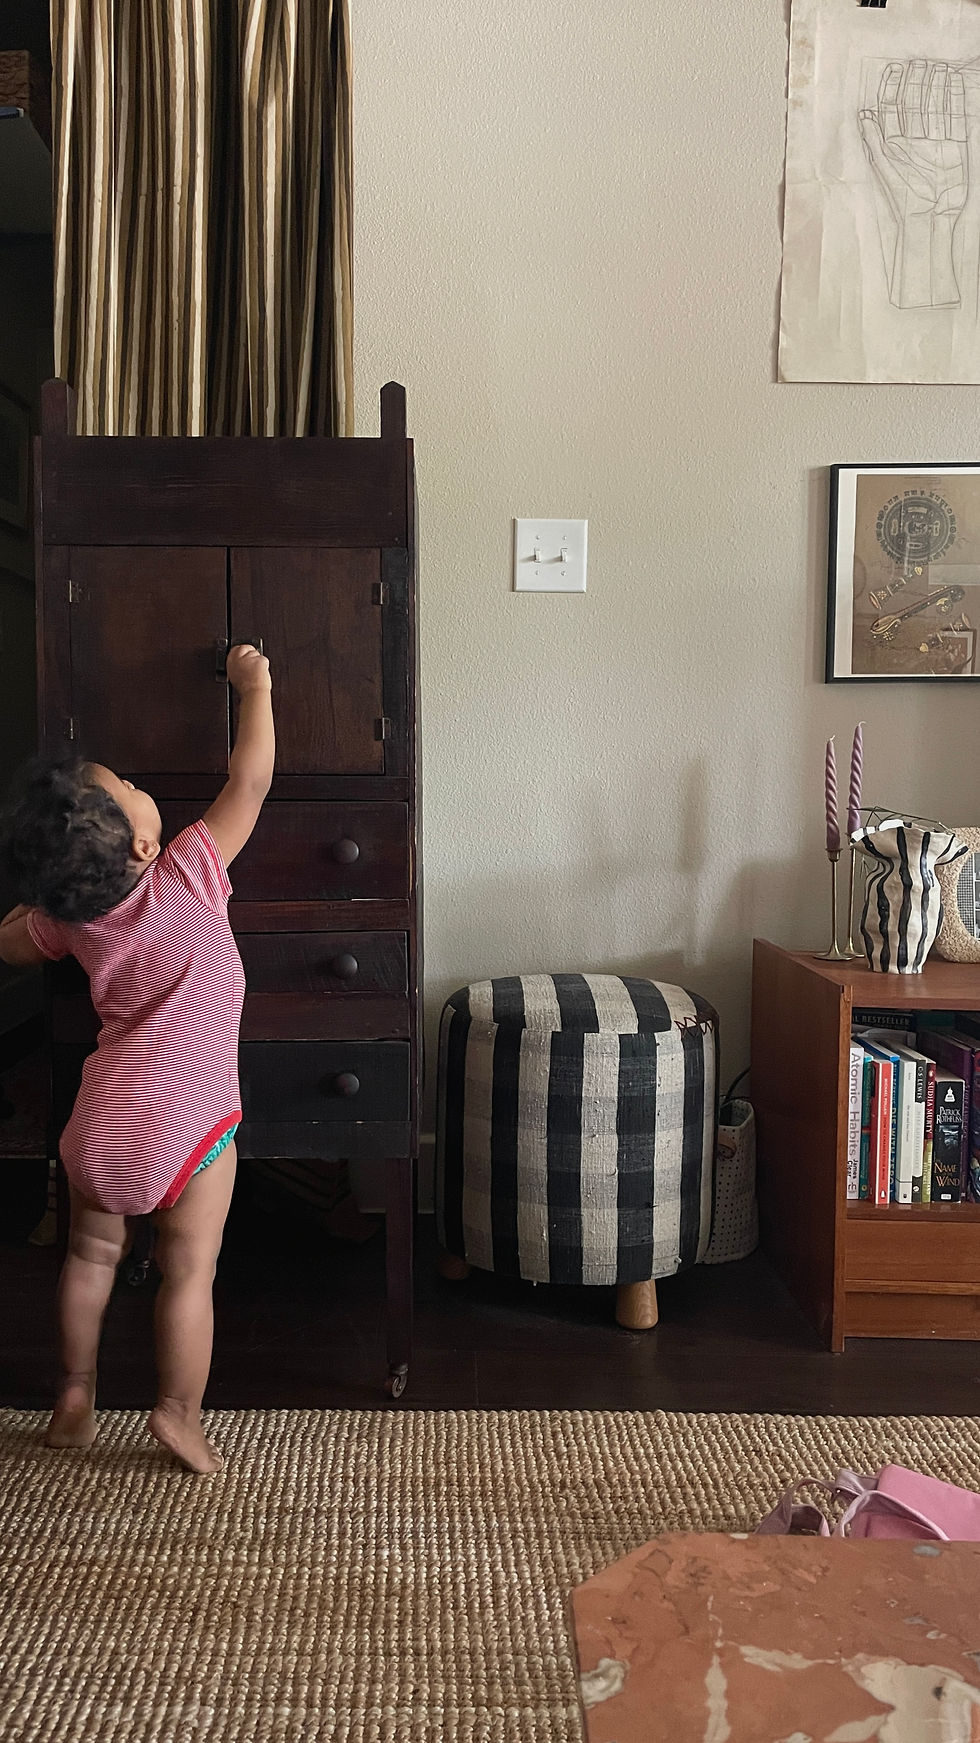
For the whimsical shared room project, these were my week 4 learnings: with the right base piece, a bit of prep work, and some thoughtful layering, even something as simple as a DIY play corner can become part of a cozy, considered home.
You can explore the full list of participants and their projects here, and follow along as this shared room continues to evolve.

Comments